DIY Car Painting Tips
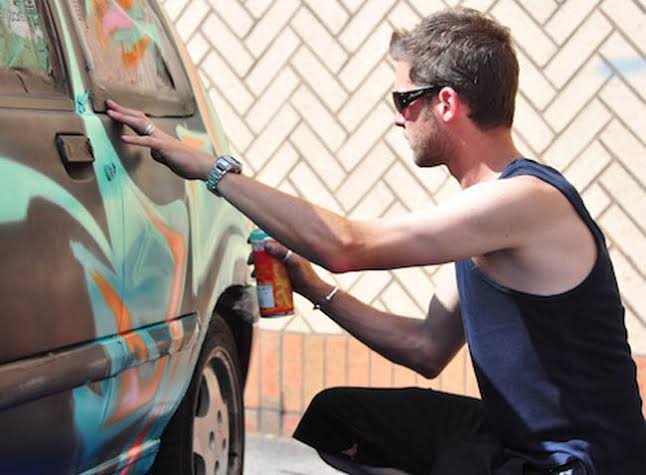
If you think you have painted other stuff and will be using the same technique to paint a car, you are mistaken.
Those are 2 different concepts as painting a car is nowhere equal to painting anything else, say a wall. You need to keep track of the stuff you need to have to successfully paint your car and give it a new yet ravishing look.
This is the reason why your car painting jobs demand a lot of money off you, now this mustn’t hamper you from doing the job, do it yourself for we provide you with DIY Car Painting Tips.
Necessities
-
Time
You need to first make time out of your routine and car painting requires a lot of devotion. The usual time you can expect to have spent on the car would be many days or a couple of weekends.
Also, you need to make sure you have space to yourself a compact place free from many other particles.
-
Essential tools
Paint or best brake caliper paint is just the most vital stuff to Paint your Brake Calipers but the tools are what makes cap painting unique as you will be needing g lot of them.
You will need 1200 and 2000 grit wet-and-dry sandpaper, an electric sander, masking tape. Also an air compressor or a spray gun, newspapers for masking off, face masks, safety glasses, and paint thinners.
The last item is a dust extractor, though not compulsory it would be handy and better to get one.
-
Measurements and weights
Now, you need to consider the size of your vehicle and get the items according to it. We have you covered in that aspect too. If you own a small or medium-sized vehicle, you must buy one gallon of base coat or primer, three gallons of topcoat, and two to three gallons of clear coat.
On the contrary, if you own a larger vehicle you need to get one and a half gallons of base coat, four gallons of topcoat, and three to four gallons of clear-coat lacquer.
Getting started
The next step is to prepare for the job and you need to start with cleaning the space. Clean the area nice and clean to make your job easier. You can use the best vacuum for the car interior.
If you are considering an open space you can wet the area for dust to settle down. Do not paint under a tree if you want a smooth finish. The next step is to wash the car removing every unwanted particle from it.
Process
-
Stripping
The process starts with sanding, you need to start doing the same in circular motions removing the clear coat, topcoat, and base coat. A tip here is sand the entire back area of the car till the metals if you want the newly painted surface smooth. Making sure the sanding of the surface is smooth including rusty Calipers and once done, wipe it with a clean rag and paint thinners.
-
Priming
Mask the areas which will not be painted and mix the primers and thinners. You may read the instructions given in the guide for the appropriate ratio.
Hold the spare gun approximately six inches from the panel and spray in a side-to-side sweeping motion. Make sure to press the trigger only when you are moving the gun.
For instance, you may try practicing it on a spare part. When you are done, the primer will have a powdery finish, and you’ll need to smooth it with 2000-grit wet-and-dry sandpaper.
-
Painting
Now, you need to mix the paint and thinners and check the recommended ratio. The techniques are the same as a primer but you need to put around three to four coats giving a standing time written on the paint can to put enamel paint on car. Remove the mask and let the clear coat cure.

